程式安全-姿勢辨識
-
姿勢辨識
圖片

- Copyright 2023 The MediaPipe Authors. All Rights Reserved.
# @title Licensed under the Apache License, Version 2.0 (the "License"); # you may not use this file except in compliance with the License. # You may obtain a copy of the License at # # https://www.apache.org/licenses/LICENSE-2.0 # # Unless required by applicable law or agreed to in writing, software # distributed under the License is distributed on an "AS IS" BASIS, # WITHOUT WARRANTIES OR CONDITIONS OF ANY KIND, either express or implied. # See the License for the specific language governing permissions and # limitations under the License.- 安裝套件
!pip install -q mediapipe- 下載檔案
!wget -O pose_landmarker.task -q https://storage.googleapis.com/mediapipe-models/pose_landmarker/pose_landmarker_heavy/float16/1/pose_landmarker_heavy.task- Visualization utilities
# @markdown To better demonstrate the Pose Landmarker API, we have created a set of visualization tools that will be used in this colab. These will draw the landmarks on a detect person, as well as the expected connections between those markers. from mediapipe import solutions from mediapipe.framework.formats import landmark_pb2 import numpy as np def draw_landmarks_on_image(rgb_image, detection_result): pose_landmarks_list = detection_result.pose_landmarks annotated_image = np.copy(rgb_image) # Loop through the detected poses to visualize. for idx in range(len(pose_landmarks_list)): pose_landmarks = pose_landmarks_list[idx] # Draw the pose landmarks. pose_landmarks_proto = landmark_pb2.NormalizedLandmarkList() pose_landmarks_proto.landmark.extend([ landmark_pb2.NormalizedLandmark(x=landmark.x, y=landmark.y, z=landmark.z) for landmark in pose_landmarks ]) solutions.drawing_utils.draw_landmarks( annotated_image, pose_landmarks_proto, solutions.pose.POSE_CONNECTIONS, solutions.drawing_styles.get_default_pose_landmarks_style()) return annotated_image- 實作1
import cv2
from google.colab.patches import cv2_imshow

img = cv2.imread("exercise.png")
cv2_imshow(img)
程式碼
# STEP 1: Import the necessary modules.
import mediapipe as mp
from mediapipe.tasks import python
from mediapipe.tasks.python import vision

# STEP 2: Create an PoseLandmarker object.
base_options = python.BaseOptions(model_asset_path='pose_landmarker.task')
options = vision.PoseLandmarkerOptions(
    base_options=base_options,
    output_segmentation_masks=True)
detector = vision.PoseLandmarker.create_from_options(options)

# STEP 3: Load the input image.
image = mp.Image.create_from_file("exercise.png")

# STEP 4: Detect pose landmarks from the input image.
detection_result = detector.detect(image)

# STEP 5: Process the detection result. In this case, visualize it.
annotated_image = draw_landmarks_on_image(image.numpy_view(), detection_result)
cv2_imshow(cv2.cvtColor(annotated_image, cv2.COLOR_RGB2BGR))
執行結果

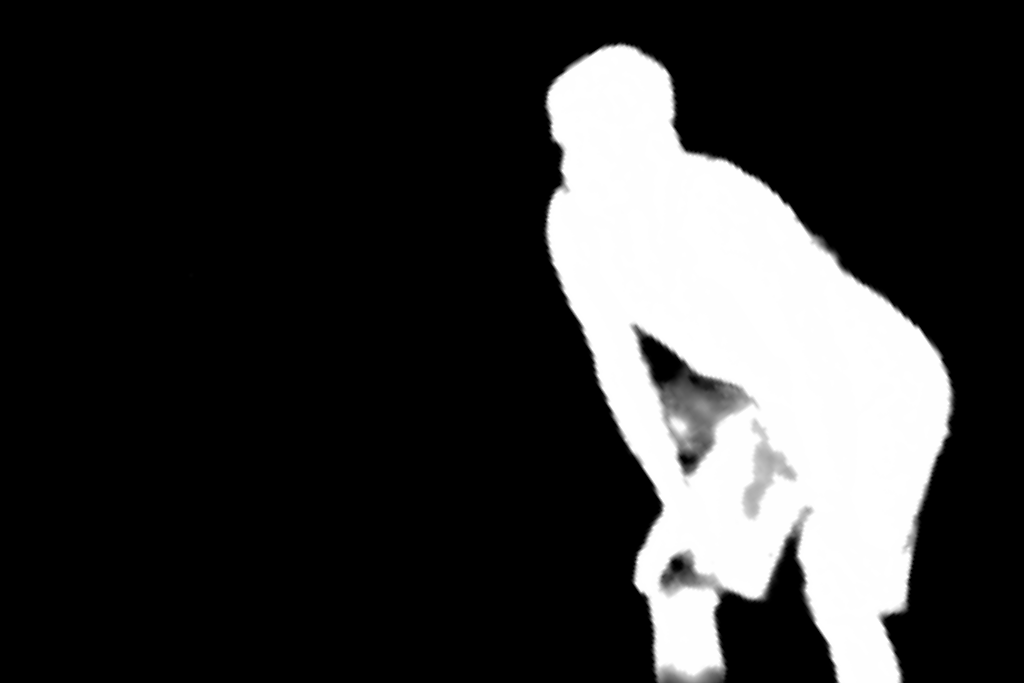
- Visualize the pose segmentation mask.
程式碼
segmentation_mask = detection_result.segmentation_masks[0].numpy_view()
visualized_mask = np.repeat(segmentation_mask[:, :, np.newaxis], 3, axis=2) * 255
cv2_imshow(visualized_mask)
執行結果

https://www.ithome.com.tw/news/126911
實作2
影片
- 下載影片檔案 連結
- 將影片檔轉成圖片集
import cv2 import os # Function to extract frames from a video until reaching the desired frame count def extract_frames(video_file): cap = cv2.VideoCapture(video_file) frame_rate = 30 # Desired frame rate (1 frame every 0.5 seconds) frame_count = 0 # Get the video file's name without extension video_name = os.path.splitext(os.path.basename(video_file))[0] # Create an output folder with a name corresponding to the video output_directory = f"{video_name}_frames" os.makedirs(output_directory, exist_ok=True) while True: ret, frame = cap.read() if not ret: break frame_count += 1 # Only extract frames at the desired frame rate if frame_count % int(cap.get(5) / frame_rate) == 0: output_file = f"{output_directory}/frame_{frame_count}.jpg" cv2.imwrite(output_file, frame) print(f"Frame {frame_count} has been extracted and saved as {output_file}") cap.release() cv2.destroyAllWindows() if __name__ == "__main__": video_file = r"motion01.mp4" # Replace with your video's name extract_frames(video_file)- 安裝套件
!pip install -q mediapipe- 取得模型檔案
!wget -O pose_landmarker.task -q https://storage.googleapis.com/mediapipe-models/pose_landmarker/pose_landmarker_heavy/float16/1/pose_landmarker_heavy.task- 相關函式
# @markdown To better demonstrate the Pose Landmarker API, we have created a set of visualization tools that will be used in this colab. These will draw the landmarks on a detect person, as well as the expected connections between those markers. from mediapipe import solutions from mediapipe.framework.formats import landmark_pb2 import numpy as np def draw_landmarks_on_image(rgb_image, detection_result): pose_landmarks_list = detection_result.pose_landmarks annotated_image = np.copy(rgb_image) # Loop through the detected poses to visualize. for idx in range(len(pose_landmarks_list)): pose_landmarks = pose_landmarks_list[idx] # Draw the pose landmarks. pose_landmarks_proto = landmark_pb2.NormalizedLandmarkList() pose_landmarks_proto.landmark.extend([ landmark_pb2.NormalizedLandmark(x=landmark.x, y=landmark.y, z=landmark.z) for landmark in pose_landmarks ]) solutions.drawing_utils.draw_landmarks( annotated_image, pose_landmarks_proto, solutions.pose.POSE_CONNECTIONS, solutions.drawing_styles.get_default_pose_landmarks_style()) return annotated_image- 將從影片擷取出的圖片進行辨識
import cv2 from google.colab.patches import cv2_imshow # STEP 1: Import the necessary modules. import mediapipe as mp from mediapipe.tasks import python from mediapipe.tasks.python import vision # STEP 2: Create an PoseLandmarker object. base_options = python.BaseOptions(model_asset_path='pose_landmarker.task') options = vision.PoseLandmarkerOptions( base_options=base_options, output_segmentation_masks=True) detector = vision.PoseLandmarker.create_from_options(options) os.mkdir("motion01_detect") for i in range(84): # Use the file path directly instead of reading it with cv2.imread image_path = f"/content/motion01_frames/frame_{i+1}.jpg" # STEP 3: Load the input image using the file path. image = mp.Image.create_from_file(image_path) # STEP 4: Detect pose landmarks from the input image. detection_result = detector.detect(image) # STEP 5: Process the detection result. In this case, visualize it. annotated_image = draw_landmarks_on_image(image.numpy_view(), detection_result) # cv2_imshow(cv2.cvtColor(annotated_image, cv2.COLOR_RGB2BGR)) # 寫入圖檔 cv2.imwrite(f"/content/motion01_detect/frame_{i+1}.jpg", annotated_image)- 將辨識後的圖片會整成影片
import cv2

# 表示 MP4 編碼格示,副檔名為 .mp4
fourcc = cv2.VideoWriter_fourcc('M', 'P', '4', 'V')

out = cv2.VideoWriter("motion01_detect.mp4", fourcc, 1, (1280,720))

for i in range(84):
  # Use the file path directly instead of reading it with cv2.imread
  image_path = f"/content/motion01_detect/frame_{i+1}.jpg"

  frame = cv2.imread(image_path)
  out.write(frame)

out.release()
cv2.destroyAllWindows()